System Requirements
- CPU: Processor with AVX2 support (most CPUs from 2011 onwards have this functionality).
- Windows Compatibility: Windows 10 (recent versions) and Windows 11 (21H2, 22H2, and 23H2 versions). Avoid the latest Windows 11 builds to prevent compatibility issues.
Preparing the System
Step 1: Download Essential Runtimes
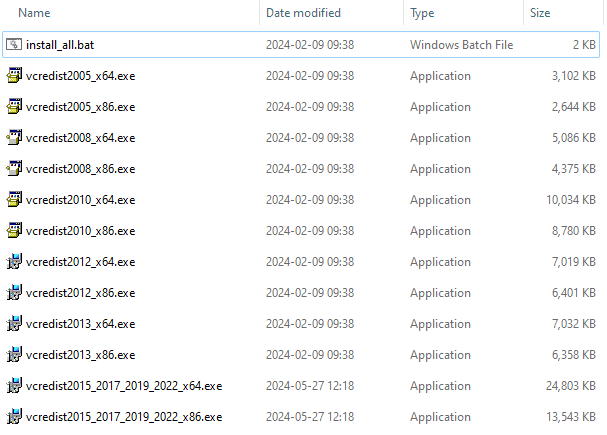
- AIO Runtimes:
Download the All-in-One Visual C++ Redistributable Runtime Package.
Extract and run the
install-allfile to install all necessary libraries.
- .NET Framework 4.8: Download and install .NET Framework 4.8.
- DirectX: Ensure DirectX is installed.
- WinRAR: Install WinRAR to manage compressed files.
Step 2: Disable Security Software
Windows Defender:
- Open “Windows Security” from the Start menu.
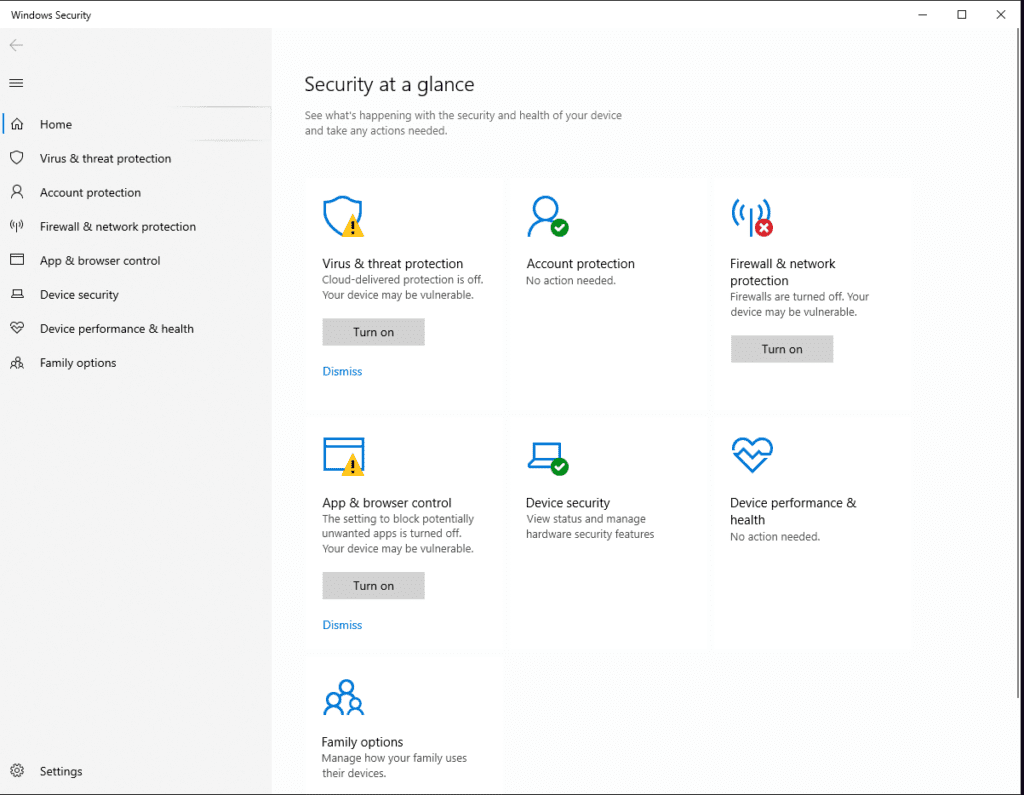
- Go to “Virus & threat protection.”
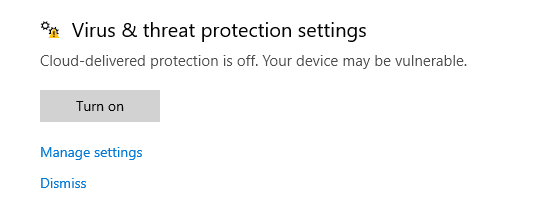
- Click “Manage settings” under “Virus & threat protection settings.”
- Turn off “Real-time protection.”
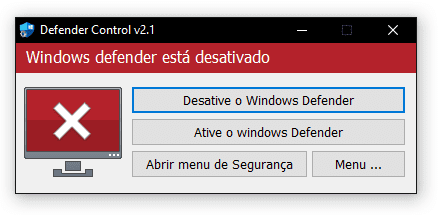
- Download Defender Control (RAR password:
sordum). - Extract and open Defender Control.
- Click “Disable Defender” and confirm that the interface turns red, indicating that Windows Defender is fully disabled.
Third-Party Antivirus:
- Temporarily disable any third-party antivirus software (like Norton or Bitdefender) to avoid conflicts during installation.
Disabling Virtualization-Based Security (VBS) and Hypervisor
Option 1: Using the Provided RAR File (Recommended)
- Download the VBS Disabler.
- Extract the downloaded RAR file.
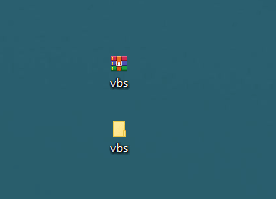
- Right-click the extracted file and select “Run as Administrator.”

- Your computer will restart automatically.
Option 2: Manual Disabling (Advanced Users)
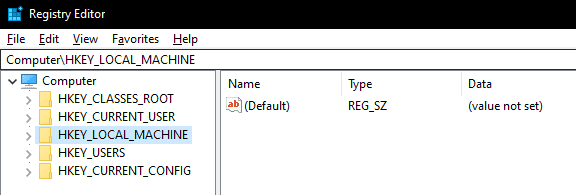
- Open Registry Editor (
regedit). - Navigate to:
HKEY_LOCAL_MACHINE\SYSTEM\CurrentControlSet\Control\DeviceGuard
Then navigate to the scenarios for CredentialGuard:

- Set the value of
Enabledto0to disable the feature. - Run Command Prompt as Administrator and execute:
bcdedit /set hypervisorlaunchtype off - Restart your computer.
Disabling Windows Features
1. Windows Firewall
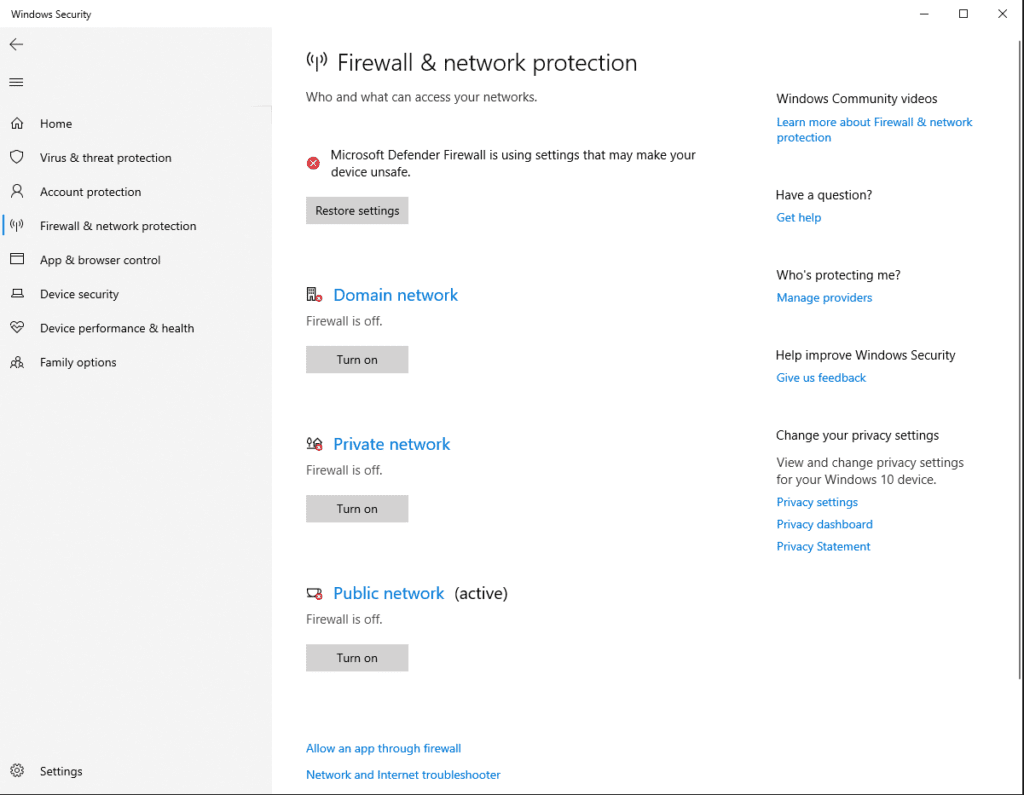
- Open “Windows Security.”
- Go to “Firewall & network protection.”

- Disable the firewall for each network profile:
- Domain Network
- Private Network
- Public Network
2. Core Isolation (Windows 11)
- Open “Windows Security.”
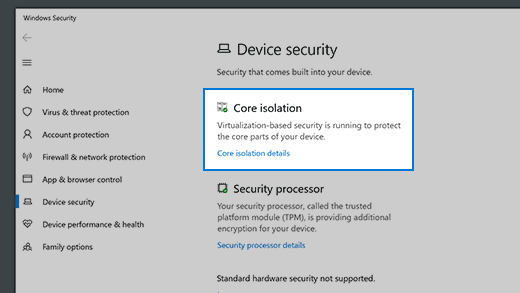
- Go to “Device security.”
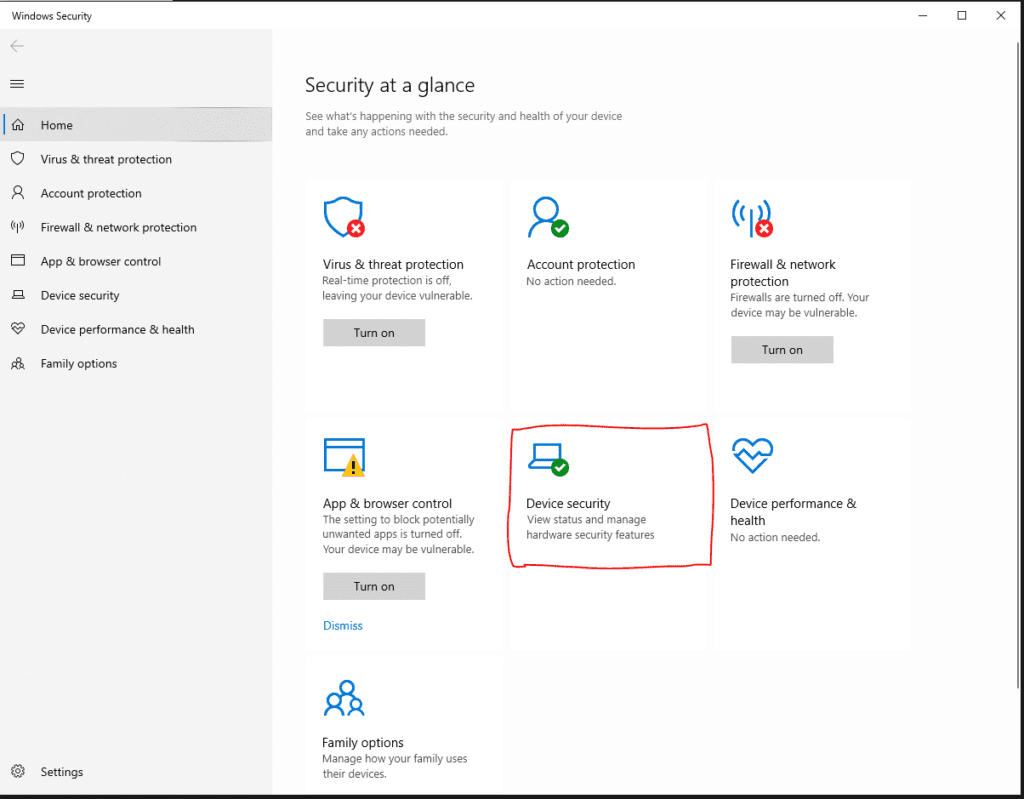
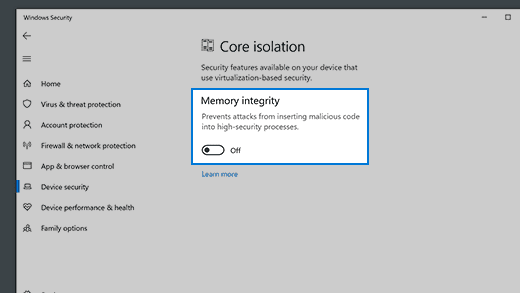
- Click “Core isolation details.”
- Turn off “Memory integrity.”
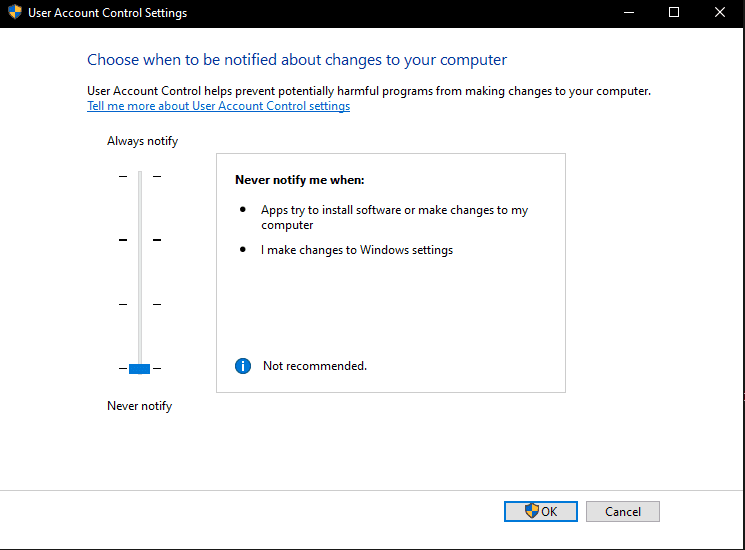
3. User Account Control (UAC)
- Search for “UAC” in the Start menu.
- Click “Change User Account Control Settings.”
- Set the slider to “Never notify.”
- Click OK and restart your PC.
4. Additional Recommended Adjustments
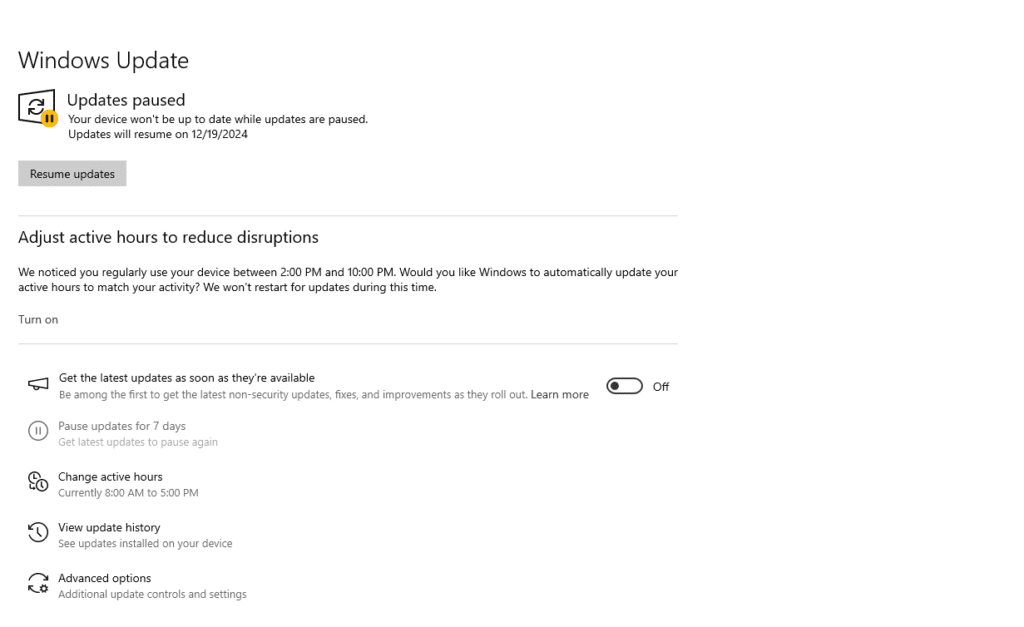
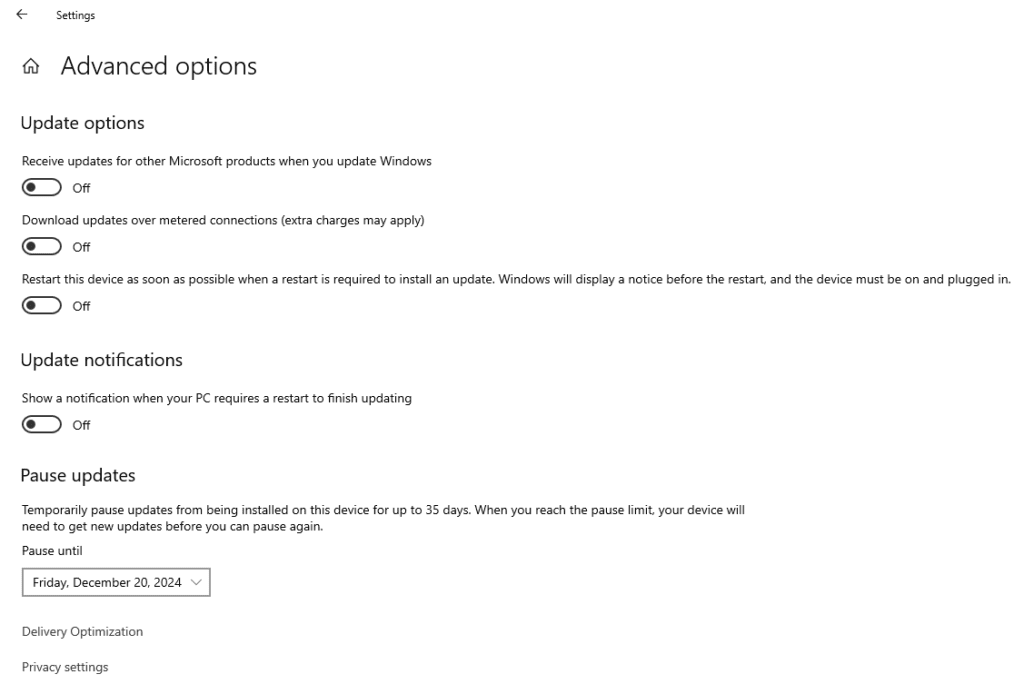
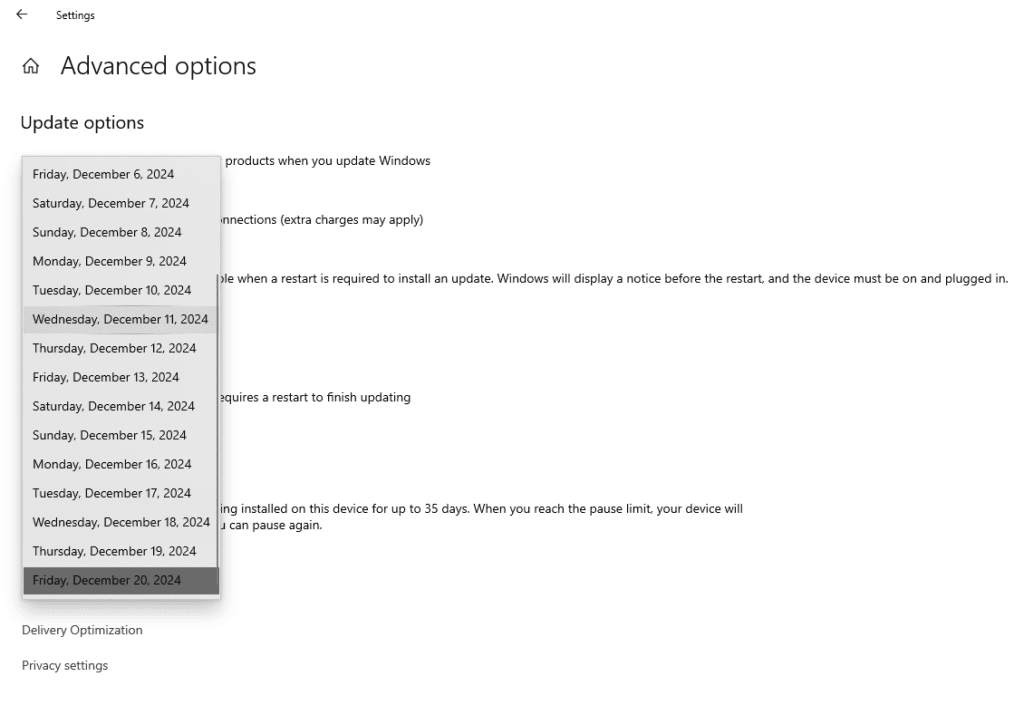
- Disable Windows Updates (temporarily):
- Open “Windows Settings.”
- Go to “Windows Update.”
- Click “Pause updates.”


- For AMD Users – Disable SVM in BIOS:
- Access BIOS settings (usually by pressing Del or F2 during startup).
- Disable “SVM Mode” or “Virtualization Technology.”
- Save changes and exit BIOS.
Installing the Cheat
- Download the Cheat/Script Loader: Visit exovanguard.com/downloads to download the loader.
- Extract the Files: Use WinRAR to extract the downloaded files into a folder on drive C: (e.g.,
C:\loader). - Run as Administrator: Right-click the loader and select “Run as administrator” before launching the game.
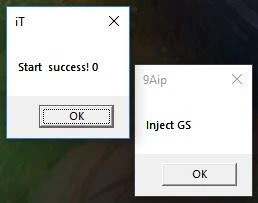
- Wait for Confirmation: Wait for the loader to display “Waiting for Game” before starting the game.
- Enter License Key: Enter the license key received by email or found in your account panel.
Troubleshooting Cheat Installation
- Conflicts with Overlays: Close third-party software with overlays (like Blitz.gg or U.gg) that may interfere with cheats or scripts.
- File Paths: Make sure both the cheat/script folder and the game folder are on the same drive for better performance.
- Connection Issues: Use a VPN like Windscribe or ProtonVPN to bypass potential network blocks.
Understanding Downtime and Compensation
Cheat and script developers typically compensate for downtime during maintenance or updates, especially for games like League of Legends that receive frequent patches. The estimated time for such maintenance usually ranges from a few minutes to a few hours, depending on the time zone and developer availability. Compensation is usually equivalent to the duration of the downtime, sometimes with extra time added.
What to Do If You Receive an “HWID Reset” Message?
- Press
Win + R.
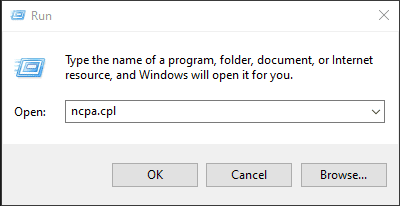
- Type
ncpa.cpland press Enter. - Disable inactive network adapters:
- Right-click any inactive network adapter.
- Select “Disable.”
Conclusion
Great job—you did it! You’ve now completed about 90% of the setup. Now follow the specific cheat tutorial to ensure everything works perfectly. If you encounter issues or have questions, feel free to ask for help. Contact us: Exo Support.